Hello everybody! Glad to see you here!
Crafter's Digital Art Center has asked Designed2Delight Digital Stamps to host the latest Embellishment Challenge, and of course, Faith said YES! She created the most beautiful digital stamp to share, called 'Cup of Posies', and decided that we should all make handmade embellishments for our creations! It doesn't get any sweeter than that, does it?

I decided to try my hand at making pretty rolled ribbon flower/roses to compliment the swirly centers of the posies in the digi. You can make them out of many materials like felt, fabric strips, and even paper. Rickrack seems to add a special touch to these flowers as well. They are super easy to do and take only moments to create! Let me show you!

You will need:
a pre-threaded sewing needle
ribbon, felt or fabric strips (I used 3/8 inch grosgrain)
scissors
mini glue dots

Start by folding about 1" of the ribbon end down to create a 'tail'.

Begin rolling the ribbon into a tight spiral, twisting and folding the ribbon outward, or away from you as you go.

After 3 or 4 turns, begin to loosen the ribbon twists to create fuller 'petals'. Be sure to keep a firm, steady grip on the spiral.

When you have reached the desired size, carefully trim ribbon end leaving another little tail.

Carefully turn the flower over and stitch through the layers, trying to capture as many as you can, especially the first and last ribbon 'tails'. Make 2 or 3 stitches through the flower, as though you are sewing on a 4-holed button, until you are confident it will not unravel.

Tie thread, and snip ribbon and thread ends closely to the back of the flower.

Here is the finished backside of the flower. Looks a bit messy!

But here is the top. Sweet!
You may have to fluff or flatten the flower just a bit when you are through sewing.

Just like real flowers...no two will be alike!
Use mini glue dots to adhere the flowers to your cards and layouts.

Here is the card I created using the 'Cup of Posies' digi and my pretty handmade flowers!

I printed the image out three times, once on Lovely Lilac cardstock and twice on watercolor paper.

After watercoloring the images, I added a layer of clear embossing, cut them out, and popped up the flowers and ladybug with foam dots.
I stamped SU's Canvas background over the Lilac image with White craft ink, and adhered the colored cup of posies on top.
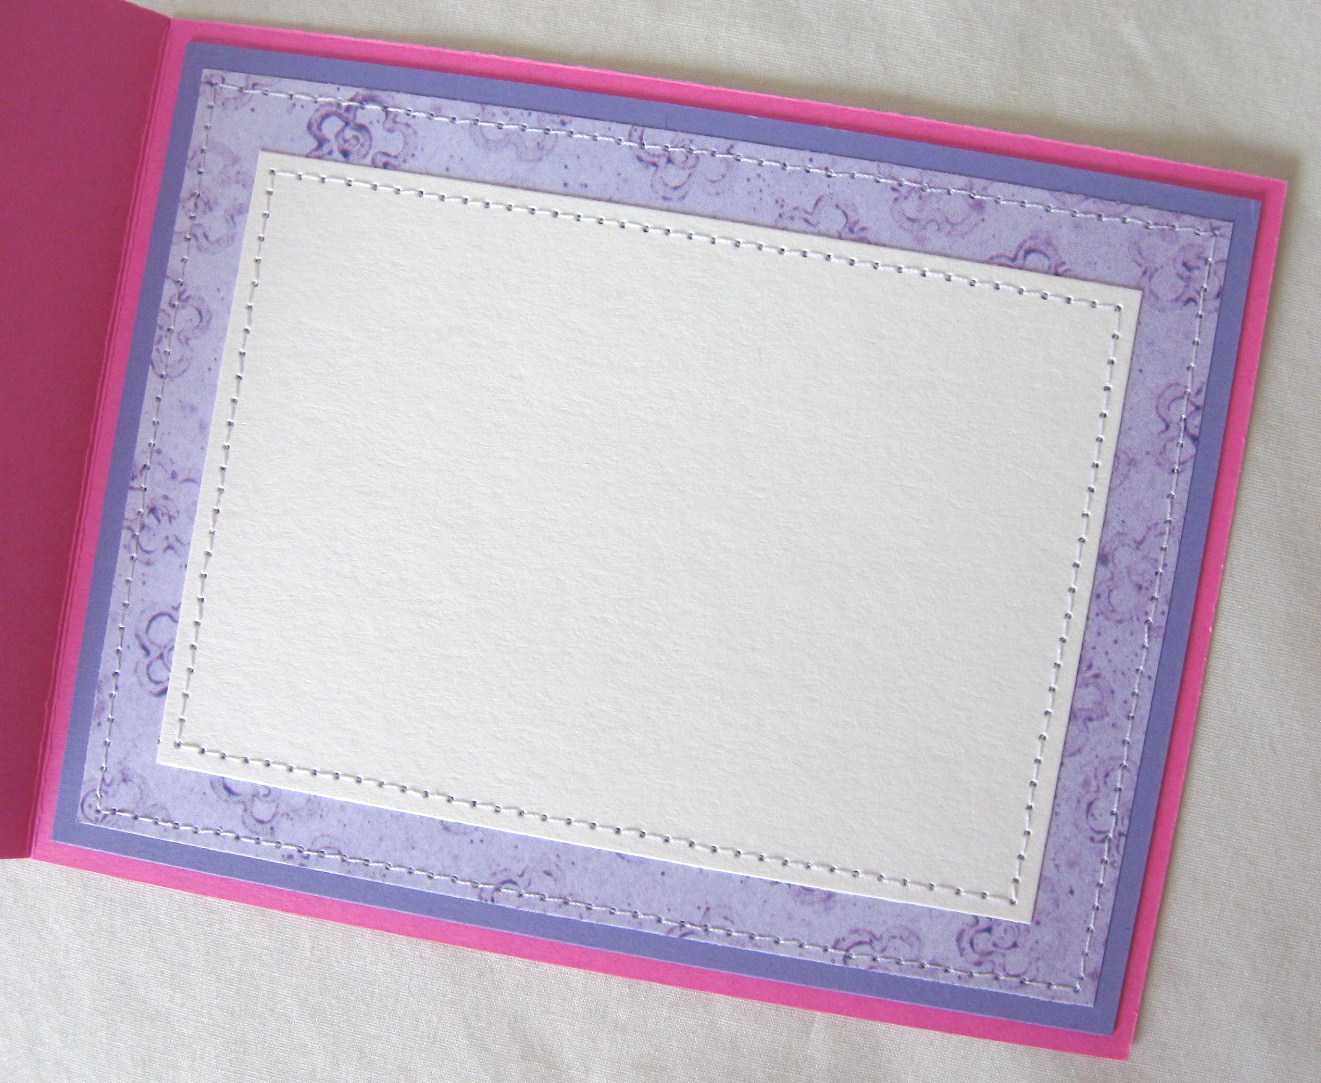
No card is complete without a finished interior!
Here I added layers of the patterned paper and cardstocks, and stitched around them leaving a nice area for personal thoughts and blessings!
~

**Make-Your-Own Embellishments Blog Extravaganza**
The Designed2Delight Lead Designers have been busy!! Follow all the links below to view 9 different tutorials for 9 different embellishments (on 8 different blogs) that YOU can make YOURSELF!!
 |
| Designed2Delight.com |
Don't forget to stop by the Designed2Delight Digital Stamps group on Crafter's Digital Art Center for the details AND a FREE Digital Stamp!!
 |
| Jane ~ Make Your Own Buttons Tutorial |
 |
| Lola ~ Make Your Own Felt and Fabric Flowers Tutorial |
 |
| Faith ~ Make Your Own Faux Prima Flowers Tutorial |
 |
| Kathy ~ Make Your Own Chipboard Accents Tutorial |
 |
| Debbie ~ Scalloped Punched Paper Flower Tutorial |
 |
| Robin ~ Stitching with Beads Tutorial |
 |
| Michelle ~ Scallop Punched Flower/Medallion Tutorial |
 |
| Michelle ~ Ribbon Frame Tutorial |
 |
| Sherrie ~ Make Your Own Ribbon Roses Tutorial |
Thank for stopping by today! Have a fantastic summer!
Sherrie
~
Cup of Posies Any Occasion Card
4-1/4" x 5-1/2"
stamps: D2D - 'Cup of Posies' digital stamp; SU! - Canvas background, Vases in Vogue (sentiment)
paper: Pink Passion, Lovely Lilac cardstocks; pp OLD from stash; watercolor
ink: Pink Passion, Lovely Lilac, Green Galore, Real Red, Whisper White craft, black pen, Versamark
etc: grosgrain ribbons, half pearls, lacey trim, large oval and scalloped oval punches, clear embossing powder, sewing machine, printer, foam dots, runner adhesive
very fun! going on my list of things to do someday! :) Yours turned out gorgeously! :)
ReplyDeleteThese are so cool Sherrie. I need to try this right away. I have to put some embellishments together for some card kits, I think I'm going to try these. Love your card too. The cup embossed in clear is a wonderful touch, bet it looks like ceramic in real life.
ReplyDeleteSherrie, your card is GORGEOUS!! I love those colors and your popped up pieces and that white canvas on your bg behind the cup o' flowers... and your RIBBON BUDS are the best. Love those! I've tried that technique with strips of cardstock. I think that ribbon would work much better. Yours are soo PRETTY! *Ü* Thanks so much for sharing your tutorial. It was an insanely awesome hop!!
ReplyDeleteFabulous tutorial and amazing card! I love the way you finish the insides of your cards so beautifully, too! Always a great inspiration!
ReplyDeleteThis is AMAZING!! I have not seen (handmade) flowers like this before! It looks like they would be so much harder to make. I love all the extra embossing on top of your coloring! Beautiful!!
ReplyDeleteI love your flowers. I can't wait to give this a try. Your card is amazing. I love the embossing. Great job and thanks for sharing.
ReplyDeleteHugs
Sherrie these roses are beautiful... I will give it a try and hope they look as beautiful as yours.
ReplyDeleteFantastic tutorial. Thank you.
ReplyDelete